During the lesson, the information for you to know is written in regular type, and what we suggest speaking or reading aloud to children is in bold. All resources for this lesson, including the Teacher Guide, Student Page, Family Connection Card, and other resources can be downloaded in a ZIP file by clicking on the following link:
In some lessons you will find "resource articles." These are articles written by experts from around the world to help equip you for your work with children and adolescents. Share them with parents or guardians if you consider it appropriate.
Before class, create a small sculpture of something that makes you happy. You may use clay as well as recycled materials. Be prepared to tell the children about your sculpture in the Responding section of this lesson.
If you have flour and salt available to make play dough, use a large mixing bowl to create a batch. Add to the bowl 680 grams (2 cups) of flour, 340 grams (1 cup) of salt, and 237 millilitres (1 cup) of water. Mix thoroughly. Make 1 batch for every 10 children.
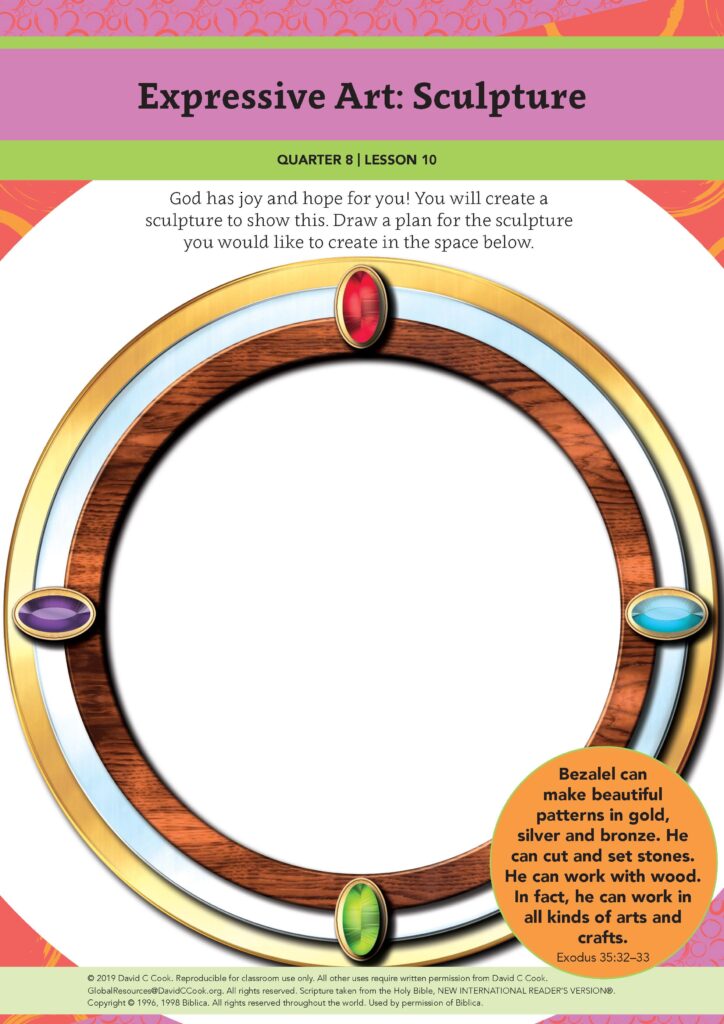
Bezalel can make beautiful patterns in gold, silver and bronze. He can cut and set stones. He can work with wood. In fact, he can work in all kinds of arts and crafts.
Exodus 35:32–33
Sculpture is a beautiful art form. In the early church, sculptures were used to tell stories about the people and events in the Bible. God’s people used sculpture to show their thoughts and ideas about real people. God gave us all talents that can help to express both His and our own stories.
Have you ever thought about something that was difficult for you to talk about? Sculpture can help people to show what they are feeling on the inside. If you were to express the emotions you are feeling right now using clay, what shapes and textures would you use? God made you to be a creative thinker, but some thoughts are not always easy to express. Consider using art to help you express your thoughts and emotions.
Encourage families to talk about sculptures they see in the community. Ask them to talk about what ideas the sculptures show and how the sculptures make them feel.
Teacher Tip: If possible, email or text the Family Connection Card to the families of your students.
Greet the children as they enter the class. Ask the children to find partners and tell each other 1 thing they can do with art.
The last time we met, we talked about how art can help us to show our emotions and tell stories. Today, we will focus on how to use sculpture to show emotions and ideas. Sculpture is a type of art that can be used to show either real things found in life, such as people and animals, or to express thoughts and emotions.
Sculptures can be made of many different materials, including wood, metal, plastic, clay, and other materials. These materials can be used separately or combined. Today, you will use clay or play dough and recycled materials to create a sculpture. I will start by giving each of you a piece of clay or play dough.
Ask the children to sit at a table or sit in rows on flat ground. Take a moment to give a small handful of clay, dough, or mud to each child. Allow them to play with it in their hands as they receive it.
Look at the clay in your hands. What could we do to change the shape of the clay?
Allow 2–3 children to respond.
Let’s try a few different ways of moulding and shaping the clay. Squeeze the clay in your hands.
Allow 2–3 children to answer each of the following questions.
How does it feel?
Give the children about 30 seconds to pinch 1 or more parts of their clay.
You can also roll the clay to make different things. Take a moment to see what happens when you roll the clay.
Give the children about 30 seconds to roll the clay into balls or long cords.
I will now give you a minute to shape the clay into something you want to make. You could make a person, an animal, or place. You could also twist the clay into shapes.
Give the children 1 minute to sculpt the clay. Then ask the children to leave their sculptures and sit in a circle with you. Explain that they will return to their clay in a few minutes.
Clay is one of the easiest materials to sculpt because you can change its shape many times before it becomes hard. You are also able to use your hands to change its shape. In today’s Bible story, the sculptors work with materials that are much more difficult to work with and require tools to mould and sculpt different parts of what they make.
Optional: If you are using The Action Bible, review the story on pages 162–163 with the children. Then, show them the picture of the tent on page 164.
Do you remember the story about building God’s holy tent during Moses’ time? In this true story from the Bible, Moses told the people about the talents of a man named Bezalel.
Read these verses directly from your Bible.
Bezalel can make beautiful patterns in gold, silver and bronze. He can cut and set stones. He can work with wood. In fact, he can work in all kinds of arts and crafts.
Exodus 35:32–33
Bezalel was not the only person called to build what was needed for the holy tent. Listen to what Moses said to the people:
Bezalel and Oholiab must do the work just as the Lord has commanded. So must every skilled worker to whom the Lord has given skill and ability. They know how to do all the work for every purpose connected with the sacred tent. And that includes setting it up.
Exodus 36:1
God gave many of His people talents and skills to complete His holy tent, just as He gives us skills and talents we can use to do His work today. One of the things Bezalel made for the holy tent was an ark to hold the covenant law. An ark is a special box. The ark was made of wood surrounded with gold. On the gold cover, Bezalel carved different images, and it included golden sculptures of cherub angels.
The workers also made a beautiful lampstand sculpted out of pure gold. They did this by hammering the gold into the shapes they wanted to make. The lamp was decorated with buds, blossoms, branches, and cups. There were 6 branches created from the stem of the lamp. This would have taken a lot of work and a lot of skill!
Everything in the holy tent was made beautiful according to the design that God told Moses. The people created the things in the tent out of the nicest things they had. God’s temple looked like a holy place built for an important king.
Let’s learn about sculpture. Sculpting is done by moulding or forming something into a specific shape. Some materials that can be used to sculpt with include wood, bronze, plastic, and clay. Today, you will sculpt with clay or play dough.
There are many ways you can sculpt clay. It can be sculpted with wood and metal tools or spun on a wheel to make pottery. You can make slabs and stick them together in different ways to make things.
During our first activity, you tried to pinch, roll, and squeeze clay to change its shape. You can also make the clay into a flat slab that can be rolled or folded into a specific form. When we think about the ark of the covenant being carved out of wood and covered with gold, we can think of the gold covering as being like a slab. It would have been formed in sheets and then applied to the wood.
Ask the children to return to their clay or play dough. If they have difficulty remembering where they were sitting, allow them to sit with any sculpture. Explain that they are about to flatten their clay or play dough.
Let’s make a slab with our clay. Flatten it out as much as possible with your hands. You can make it thin or thick.
Give the children about 1 minute to flatten their clay as much as possible. It is okay if their clay is uneven.
To make the ark of the covenant, gold was placed over the wood so that it covered all of it. The skilled workers carved pictures into it using tools. There are many tools you can use to carve into clay.
Because clay is so soft, you can use your fingers, a stick, a rock, a piece of metal, and many other tools to carve designs and pictures into it. If you want a tool other than your fingers to carve into your clay, you may come up and choose 1 tool to use. If you just want to use your fingers, you may.
Give the children a moment to gather 1 tool each if they want. Then encourage the children to carve something into their slabs of clay. Walk around the space as the children work to observe what they are making. Allow 2 minutes for the children to carve into their clay before you ask the children to put their tools down so they can listen to the rest of the lesson.
These pieces are looking really nice! Once you complete your design, you could add something to it, like the recycled materials we have up at the front of our space. We will not do that now, but you will have an opportunity to add them to a sculpture you create in a moment.
Ask the children to set aside their clay.
In today’s Bible story, the sculptors honoured God with their work. They created beautiful sculptures out of different materials to put in a temple. These beautiful sculptures reminded the people of who God is. God is true, God is powerful, God is awesome, and He loves you.
Optional: If you have enough clay or dough for all of the children to have another small handful, give the children fresh clay for this activity.
Now it is your turn to sculpt something out of clay! Let’s think for a moment about God, remembering that He is good, powerful, and awesome and He has good plans for you.
You will use your clay to make something beautiful that reminds you that God has joy and hope for you. For example, if you really like looking at beautiful butterflies because watching their delicate wings flutter make you happy, you may choose to create a butterfly.
Decide what you want to create. You can add details to the slab you just made, or you can squeeze your clay together and create something new. Then plan how to make your sculpture. What tools will you need? Do you want to use 1–3 recycled items as part of your sculpture? Or do you prefer to only use clay?
Show the children the sculpture you created before class or quickly create a sculpture now as an example.
As you sculpt, you may come to the front of the space and take 1–3 recycled items to add to your artwork. You may now begin working.
Give the children 5–10 minutes to create their sculptures. Walk around the space as the children are working and talk to the children about what they are making. At the end of the work time, ask the children to wash their hands and wipe off their workspaces using water and a cloth or sponge.
Optional: If you are using Student Pages, give each child a crayon. Allow the children about 3 minutes to find their favourite sculptures and draw them.
You may take your sculptures home with you. Whenever you feel sad or you are going through a difficult time, you can look at your sculpture and remember God’s love for you. Our memory verse today shows us different ways people worship God with the talents He gave them.
If you are using the Memory Verse Poster, show it to the students.
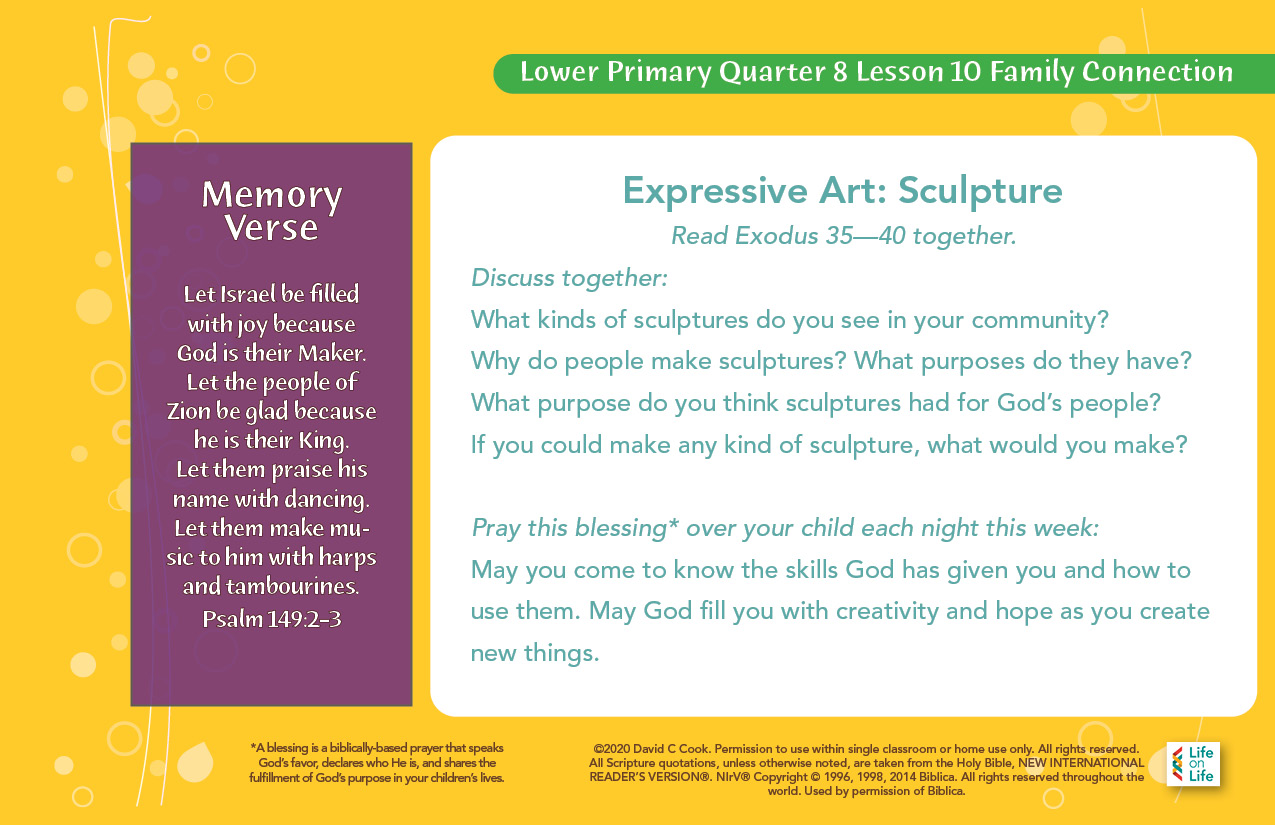
Let Israel be filled with joy because God is their Maker. Let the people of Zion be glad because he is their King. Let them praise his name with dancing. Let them make music to him with harps and tambourines.
Psalm 149:2–3

Read the verses with the following motions. Repeat these with the children 3 times.
End class by saying this blessing, based on Exodus 35:32–33 and Exodus 36:1, over the children.
Blessing: May you come to know the skills God has given you and how to use them. May God fill you with creativity and hope as you create new things.
Lead the children in singing this quarter’s song, if possible.
Life on Life ©2020 David C Cook. Reproducible for home or classroom use only. All other uses require written permission from David C Cook [email protected]. All rights reserved.