During the lesson, the information for you to know is written in regular type, and what we suggest speaking or reading aloud to children is in bold. All resources for this lesson, including the Teacher Guide, Student Page, Family Connection Card, and other resources can be downloaded in a ZIP file by clicking on the following link:
In some lessons you will find "resource articles." These are articles written by experts from around the world to help equip you for your work with children and adolescents. Share them with parents or guardians if you consider it appropriate.
Unit Introduction: This unit celebrates the creativity God gave each of us. It will help children think in different ways and learn to use their creativity to work through problems they face. While art can be beautiful, it can also be a useful tool to help people express their emotions and experiences in a fun and safe way.
It is best to teach children the techniques and concepts necessary to create meaningful art. That is why it is also important to show children examples of the final product they will create so they will understand what to do. For example, you will create a collage that tells a story for the first lesson to help the children understand what to do. However, the children will not be expected to copy your example since art is an expression of those creating it.
For this lesson: Children will make collages in this lesson. A collage is a combination of materials put together on a flat surface to make a picture. Before class, choose materials you can use to make a collage about yourself or a story from your life that you can tell the children. Your story could be about a joyful time in your life, or it could be about something difficult you had to face. Be sure your story is something you feel comfortable telling the children and that is appropriate to share.
When you explain this to the children, be prepared to talk about the supplies you used for each element. For example, you may use a piece of red yarn for a smile and a piece of yellow fabric for the sun.
Place a variety of collage materials into piles on the floor for groups of 4–5 children. Allow enough space between piles to allow the children to sit around them. Make sure there is at least 1 of each item for every child in every group.
The Lord has filled him with the Spirit of God. He has filled him with wisdom, with understanding, with knowledge and with all kinds of skill.
Exodus 35:31
God gave us each special talents. Some things are very practical, while others are more artistic. Some talents are both useful and beautiful. When we use our talents in ways that help and serve others, we bring honour and glory to God.
What are some things you are good at? Every person is creative in some way. In what ways are you creative? Have you ever considered that these talents come from God? Even if you do not feel particularly gifted at creating beautiful things, God has filled you with many skills to help you glorify Him. May you enjoy creating something new as you remember the skills and knowledge God has given you!
Encourage families to make a collage. They can use anything found in nature, recycled materials, or anything they find to create a picture. Remind the children that God gave us all talents and creativity.
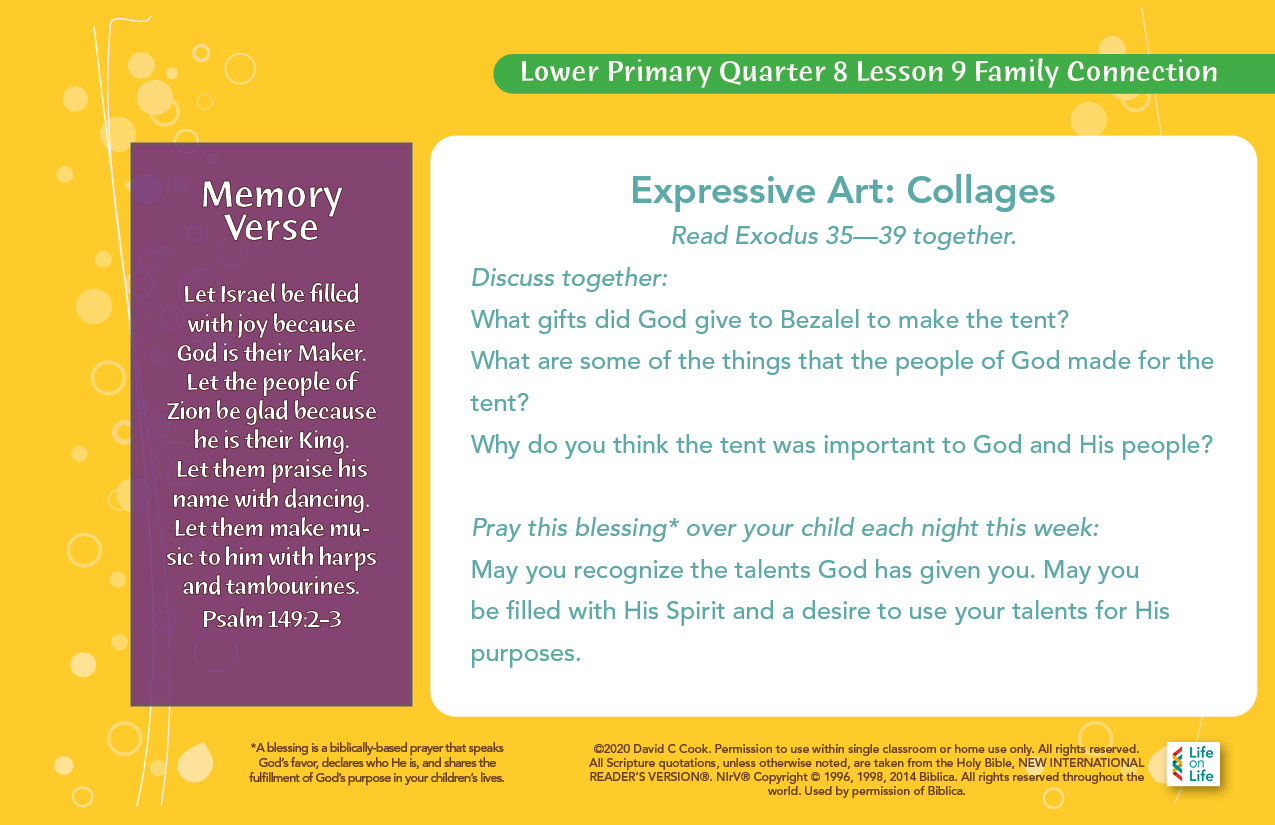
Teacher Tip: If possible, email or text the Family Connection Card to the families of your students.
Greet the children as they come to class. Ask the children to form groups of 4–5 around the materials you set out before class.
Today we will begin learning about creativity. God is very creative! Look around at each other. Every person has something unique and special about him. God’s creativity can be seen in each person and in all of creation.
Did you know that God made each of you to be creative too? You may show creativity in how you draw or sing. Perhaps you show creativity in the way you help others. You are creative because you are made in the image of our creative God.
Look at the materials you have in front of you. You will have a few minutes to learn about these materials now so that you are prepared to create with them later.
Choose a material you think is pleasing or interesting to look at. Pick it up.
Pause until each child has an item in his hand before you continue.
Tell your group what you like or find interesting about this material. Be sure everyone in your group has a turn to talk about her material.
Allow about a minute for the children to talk about their materials.
Place your materials back in the pile in front of you. Now pick up 1 thing you think will feel interesting in your hand.
Gently rub the material with your hand and think about how it feels. Describe how your material feels to your group. For example, you may say it feels soft or bumpy. Give everyone in your group a chance to describe how their materials feel.
Allow about a minute for the children to describe their materials.
Place the materials back into the pile in front of you. Next, choose 1 material that would lay flat on the ground and 1 that would not lay flat. Place them directly in front of you. Feel these materials in your hands and think about how you can use them together to make a shape. Move these materials to make a shape.
Now, add some other materials to make a picture. Your picture can be anything you want it to be. Your picture might be something you see in nature or just a fun mix of materials that are beautiful together. You will have 1 minute to make your picture with any of the materials you want to use.
Allow 1 minute for the children to make pictures.
This type of picture is called a collage. A collage is a collection of many different materials put together to make a picture. You will make a special collage at the end of this lesson to tell a story about you. Now, let’s learn about how God’s people used different materials to make something very special.
Ask the children to slide back about ½ meter away from their materials while still staying with their group members. This will help the children to focus on the Teaching section of the lesson while still allowing them access to the art materials.
Let’s pretend we are in a tent! Imagine columns with cloth above and around us. In the Bible, people worshipped God in a tent. This was not just any tent, though. This tent had colourful weavings and tables made out of bronze and gold. On the bottom of each column, there was a metal ring made of silver, and there were gold rings holding the bars across the top of the tent in place. It was a truly magnificent tent!
Optional: If you are using The Action Bible, show the children the picture on page 164. If possible, share the image from The Action Bible.
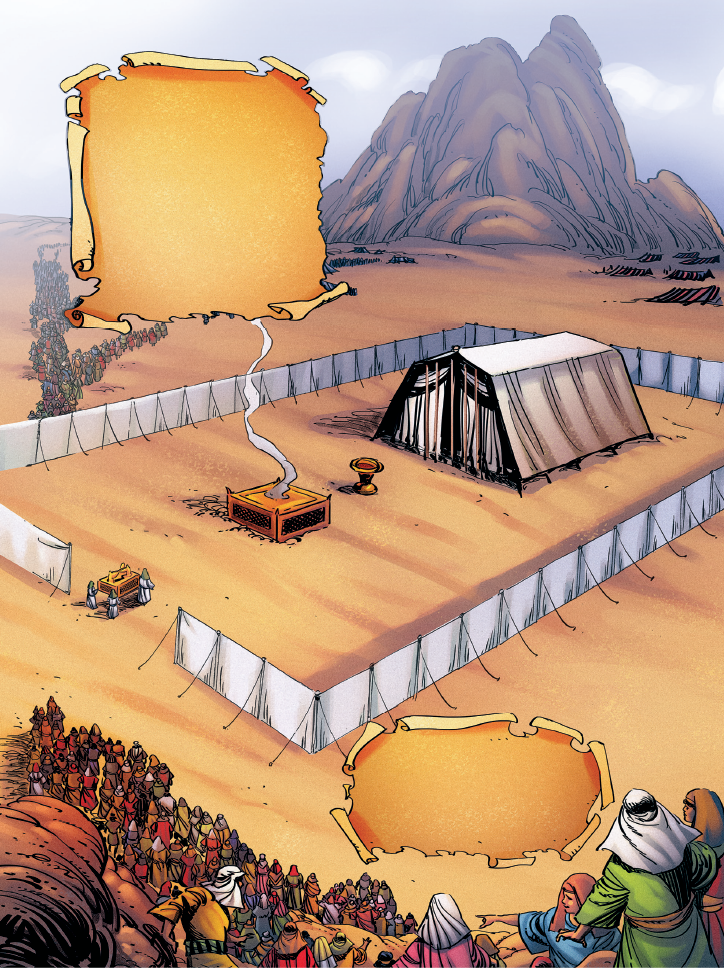
This tent was created as a temple—a place to worship God.
It took many skilled people to create a temple. Let’s listen to a true story from the Bible about the building of this very special temple tent.
As I read, you will stand up and sit down each time you hear something that was made for the temple tent.
Before beginning work on the tent, the people gave offerings of materials to use. They gave jewellery, yarns of different colours, dyed leather, wood, and linen.
Stand up and sit down with the children.
God chose 2 men to lead the people in the construction of the tent and all of its parts. Their names were Bezalel and Oholiab. This is what Moses said about Bezalel.
Read these verses directly from your Bible. Stand and sit with the children when you talk about the things Bezalel could make.
The Lord has filled him with the Spirit of God. He has filled him with wisdom, with understanding, with knowledge and with all kinds of skill. Bezalel can make beautiful patterns in gold, silver and bronze. He can cut and set stones. He can work with wood. In fact, he can work in all kinds of arts and crafts.
Exodus 35:31–33
Even though Bezalel and Oholiab were skilled at making many things, part of their job in building the tent was to teach others to make things. Together, God’s people made many things for the tent. These included:
Stand and sit with the children after reading each item.
The Bible tells us that God’s people created all of these things for the holy tent. Once they were complete, everything that was made was brought to Moses. This is what the Bible says:
The Israelites had done all the work just as the Lord had commanded Moses. Moses looked over the work carefully. He saw that the workers had done it just as the Lord had commanded. So Moses gave them his blessing.
Exodus 39:42–43
As seen in this Bible story, art can be used to worship God. God commanded the people to use their skills and craftsmanship to make a beautiful tent with all the objects needed to worship Him. We can also use materials to create beautiful art using many colours, materials, and textures just like they used in making the temple tent.
Today we will learn about how we can use our creativity and talents to create beautiful art. God gave us all things we are good at—called talents—and He calls us to use them. In the true story about the holy tent from the Bible, Moses says:
Bezalel and Oholiab must do the work just as the Lord has commanded. So must every skilled worker to whom the Lord has given skill and ability. They know how to do all the work for every purpose connected with the sacred tent. And that includes setting it up.
Exodus 36:1
When you use the talents God gave you, you honour Him and give Him glory. Let’s learn a skill that we can use to make beautiful art!
A collage is a type of art created on a flat surface. The artist places different materials on it to make a picture. This is what you made at the beginning of our lesson. In our story, people made things out of yarn, metal, wood, and other materials. These worked together to create different colours, textures, and shapes. Let’s talk about some of these words.
What are some colours you know?
Allow children to call these out together or allow 5–8 children to quickly respond.
Different colours can be used to represent different things. For example, blue can be used in art to show the sky or water. When the people were building the holy tent they used 3 specific colours. One of these was purple. Purple is the colour of royalty and the colour of the priesthood. For the people building the tent, this was an important colour.
Allow 2–3 children to respond to each of the following questions.
At the end of this lesson, you will make a collage to tell a story about you. Think for a moment about a colour that you feel represents you. Talk to your group about what colour you would use and why.
Give the children 1 minute to talk in their groups.
Colours can be used to make many different things that we see in our daily lives. Different materials can be used as well. Different materials have different textures. Some are rough while others are smooth. Some are hard while others are soft. Let’s talk about a few things you could make with different textures.
Look at the materials I gave you. Decide which material might feel the most like each of the things I name. Then hold this item in the air to answer each question.
Allow the children to respond to each of the following questions by holding up a material.
Textures that are rough are often good for representing things in nature, while textures that are smooth are often good for representing things that were made by people. Choose a material you would like to use in your collage story. Tell your group what you would make out of that material and why.
Give the children 1 minute to talk in their groups.
Optional: If possible, use a paper and pencil to demonstrate the following information as you read. Start by drawing a simple tree. If there is a tree near your teaching space, use this as an example as well.
Now that you all understand how to use colours and textures to help you tell a story, let’s talk about using flat materials and materials that have depth and dimension. If I drew a tree on paper, my tree would still be flat on the paper. I could not touch it and feel the curves and bumps of a real tree. But if I point to a tree outside, that tree has dimension. It is tall, it might be big around, and I could wrap my arms around it.
What if we wanted to actually reach out and touch one of the objects we created? We could do this by using materials that we can feel the length, width, and depth of. For example, to make a small tree we could feel, we might use a piece of cardboard wrapped around itself with some real sticks that we can touch and feel.
When you create art, you can use flat things or things with depth and dimension to show different ideas from real life. Today, when you make your collage story, you will be able to use materials that are flat and materials that have dimension or both.
Look at the materials we have to use. Think about ways you might use the colours,textures, and dimensions to tell a story about yourself.
This can be a story about who you are. Or you may choose to tell a story about something that has happened to you. What textures and colours do you want to use to tell your story? Think about this question while I show you my story.
Take a moment to show the children your collage. Tell them the story that goes with it. Be sure to point out a few details you added to your picture and what they mean. For example, you may show them tiny purple flowers you used to show a garden outside of your home.
This is my story. I showed you my picture so that you could understand how to create your story. You will tell your story using materials you want to use. You should not copy my story. You have your own story and your own creativity.
Optional: If you are using Student Pages, you may choose to have children create their collages on this page. They may use the coloured sections of paper at the bottom of their pages as well as other materials.

Now I will give you some time to create your story. You can tell a sad story, a happy story, or your life story. Share the materials with the other people in your group. Have fun telling your story!
Allow about 5 minutes for children to create collages. Walk around the teaching space to answer questions and look at the children’s art. If you notice that children are finishing their collages before 5 minutes have passed, encourage them to add more details to tell their stories. Tell them to think about where they are and what they are doing. Are there any art materials that feel like the things that are around them?
Optional: If there is time, allow each child to share her story with another person in her group or with everyone in their groups.
These are wonderful story pictures! They show me God gave each of you very creative minds and skills to use. Our memory verse today reminds us that we can use our creativity to praise and honour God.
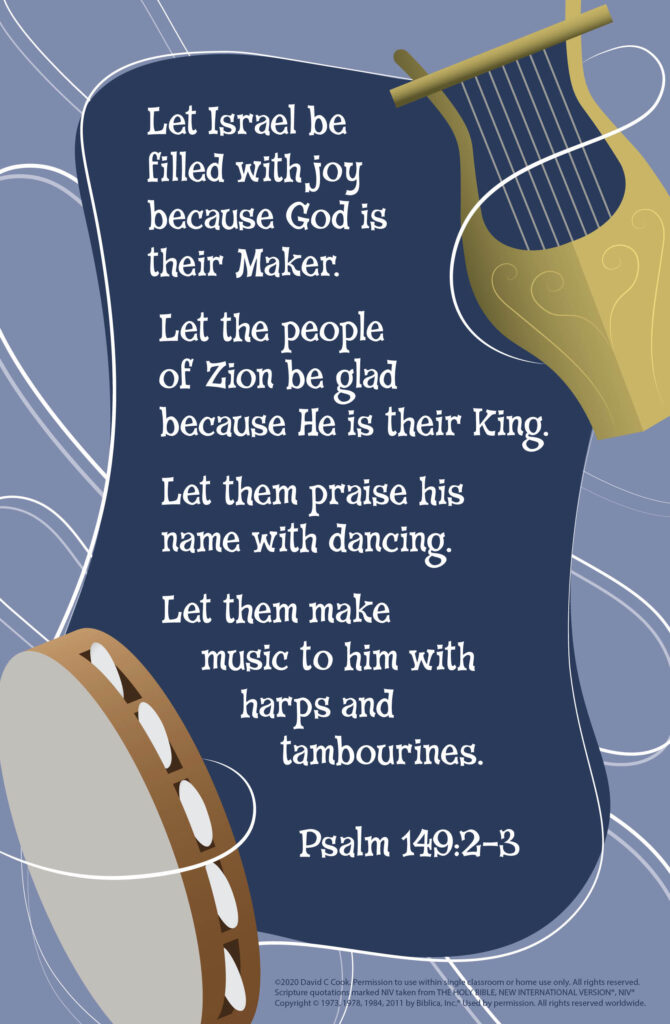
If you are using the Memory Verse Poster, show it to the students.
Let Israel be filled with joy because God is their Maker. Let the people of Zion be glad because he is their King. Let them praise his name with dancing. Let them make music to him with harps and tambourines.
Psalm 149:2–3
Read the first part of these verse with the following motions. Repeat these with the children 3 times.
Let Israel be filled with joy because God is their Maker—Clap and stomp the rhythm of these words as you read them. Remember your clap and stomp pattern for the other lessons in this unit.
End class by saying this blessing, based on Exodus 35:31–33, over the children.
Blessing: May you recognize the talents God has given you. May you be filled with His Spirit and a desire to use your talents for His purposes.
Lead the children in singing this quarter’s song, if possible.
Life on Life ©2020 David C Cook. Reproducible for home or classroom use only. All other uses require written permission from David C Cook [email protected]. All rights reserved.